Welcome to the Site Editor – the heart of Full Site Editing (FSE) in WordPress. This is where you’ll design and customize every part of your website, from headers and footers to individual templates and global styles. If you’re new to FSE, this tour will walk you through each area of the interface, explain what everything does, and help you feel right at home.
Before you begin: Make sure you have Plover Theme activated. You can open the Site Editor from your WordPress dashboard by going to Appearance → Editor, or by clicking the “Edit Site” link in the top admin bar when viewing your site.
If you’re new to FSE, we recommend reading What is Full Site Editing (FSE)? first.
A Bird’s‑Eye View
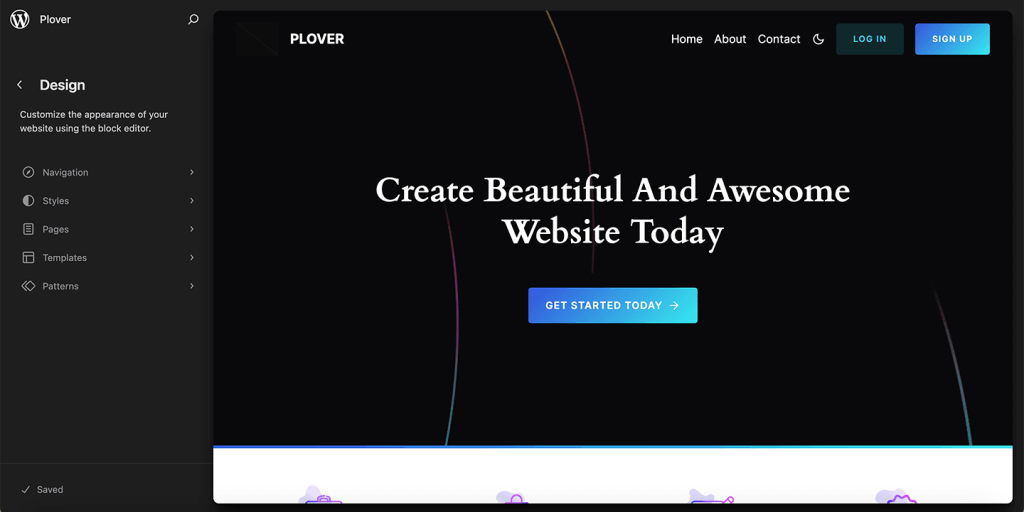
When you first open the Site Editor, you’ll see a preview of your website with a few key interface elements. Let’s break them down:
Navigation Sidebar
The menu on the left side is called the Navigation sidebar. From this menu, you can preview your content, select a style variation, and manage your templates and template parts.
The menu items will vary from site to site. The Navigation menu is available if your site has a menu, and the Site Editor may hide the Styles menu if there are no style variations or custom styles.
Editor Area
The central canvas is a live preview of the currently selected template or template part. You can click anywhere to start editing.
In the following articles, we will delve into every section of the site editor.
Leave a Reply